There's nothing quite like a fresh coat of paint to make a room feel like new, but how many people feel comfortable and confident about painting a room themselves? The process can seem tedious, time consuming and tricky all at once, but going DIY doesn’t have to make your head spin.
Painting a room on your own can save you money and be pretty darn rewarding, so TODAY Home consulted the pros to learn how to paint a room. They're sharing everything from the paint supplies you'll need and the best painting techniques to time-saving painting tips to help you maintain your sanity.
Happy painting!
1. The right tools make a world of difference.
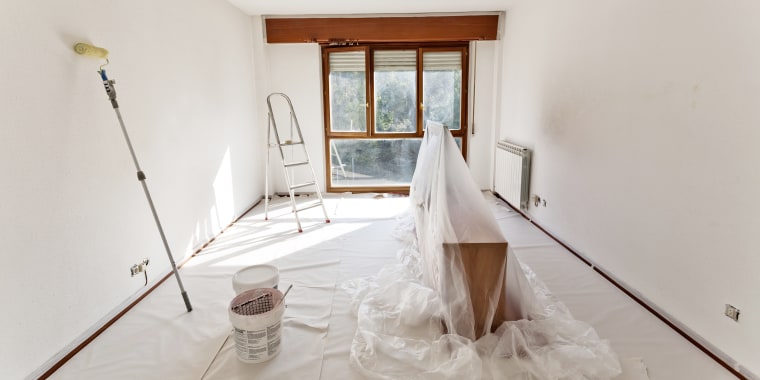
You don’t need to buy expensive, fancy tools for a DIY paint project, but you will need to stock up on a few paint supplies. From drop cloths that protect your furniture to rollers that help you get even paint coverage, these are a few paint supplies that everyone needs in their arsenal:
- Scrapers and/or putty knife for prep work
- Spackling compound to fill holes
- Painter's tape
- High-quality paint brushes: Octave Villar, BEHR applications lab manager, loves Wooster brushes and recommends keeping a few brushes in different sizes on hand with both flat and angled bristles)
- Wooden paint stirring sticks (to mix up the paint when it’s settled and/or separated)
- Paint trays (to pour paint in if you’re using a roller)
- Paint rollers: “For rollers, no matter the size, choose a frame with a reinforced cage and a locking mechanism to ensure even pressure and prevent roller slipping,” Villar said.
- Extendable roller pole
- Cotton rags
- Drop cloths (to cover furniture and other items)
- Clothes you don’t mind getting dirty
- Paint-edging tool
- One or more ladders for hard-to-reach walls and ceilings
Having the right paint supplies can help make prep work and cleanup a breeze, but that doesn’t mean you have to spend a ton on basic items like paint trays or drop cloths. In fact, buying these types of items at a local discount store can help you save room in your budget for the more important tools, like paint brushes.
“One of the most common mistakes people can make is using the wrong or cheap painting tools. However, certain brushes and rollers work better for certain types of paint, so be sure to ask your neighborhood store about what tools are right for your project,” said Rick Watson, VP of product development for Sherwin-Williams.
You might also want to pick up an extendable roller pole if you plan on doing a lot of painting — especially if you’re painting a ceiling. “Using one of these will allow you to roll paint on your walls and ceilings more comfortably; Your back will thank you!” Villar said.
Of course, the most important item on your shopping list should be paint, and an expert at your local hardware store can help make sure you have enough to cover the entire room (and a bit extra for mistakes).
2. Take the time for preparation — it'll make your job easier!
It might seem tedious, but prepping your room for a DIY paint project is a crucial part of the process.
"Prep work is half the battle. It's like chopping the vegetables before you add them to the soup, or studying before a final exam — it has to be done in order to be successful. Your space should be completely clean and free of dirt and dust (think floors, trim and walls)," Ken and Anita Corsini of HGTV's show "Flip or Flop Atlanta" wrote over email.
Help make your job a whole lot easier by following this prep work checklist:
- Start by clearing out or covering any furniture in the room and removing any fixtures or hardware that might get in your way — light fixtures, doorknobs, etc.
- Next, dust off those cobwebs and if necessary (if you spot dirt or grease stains, for instance), washing walls with soap and water and leaving time for the walls to dry completely.
Use painter's tape to map out your room and block off ceiling edges can help the painting process go a lot quicker in the end. Keep in mind: You'll have a bit of work to do before sticking on that tape. “When it comes to using painter’s tape, always clean the surface before applying it. Even the best-quality tapes won’t stick to dusty or oily surfaces. And don’t forget to seal the edges — simply press with your fingers or a putty knife to ensure a crisp line for painting,” Villar said.
- Primer used to be a non-negotiable part of the painting process, but nowadays, many brands sell 2-in-1 paint and primer, so go for a multitasking product if you want to save a step!
Prep work can be just that simple or it might be a bit more involved, depending on the condition of your room.
"It’s one thing if you’re painting brand new drywall, but most DIY projects involve surfaces with existing paint and some degree of damage or distress. Sufficient prep work will be necessary to make the surface smooth and stable," said Dan DiClerico, home expert at HomeAdvisor. "This might mean scraping away cracked or peeling paint with a metal putty knife, then sanding sharp edges where old paint remains. You might also need to fill gouges with spackling compound and apply caulk to gaps around windows and trims."
Whatever your prep work involves, just make sure to block off some time to thoroughly complete it. Working with a clean canvas will make your job a whole lot simpler!

3. Paint brushes are an investment, so take care of them.
We all know how nasty a batch of dirty dishes can get when left in the sink too long. And if you don’t take care of your paint brushes, they can get pretty gross, too.
While you don’t have to thoroughly wash your brushes after each use, it’s best to at least rinse them off to prolong their lifespan — especially if you’ve invested in high-quality brushes to help your paint go on smoothly.
"Clean your brushes with soap and water while the paint is still wet. If you’re going to be painting again the next day, you can store brushes in a Ziploc bag without washing them so they don’t dry out. But I always wash my brushes after each use," Watson said.
If it's taking a while to clean out the brush, you can always speed up the process by pressing it against the side of the sink or use a comb to remove any excess paint from the base of the brush. For cleaning out heavily soiled brushes, the Corsinis suggest using paint thinner.
Once you've finished washing out the paint, remove excess water by spinning your brush and then wrap it in newspaper to maintain its shape while drying. Press-and-seal wrap also come in handy when you're looking to store wet paint brushes in the fridge between uses.

4. Don't rush the color-selection process!
Selecting the right paint shade for a room can be exciting, but overwhelming at the same time. There are so many beautiful shades from which to choose, and narrowing it down can make your head spin. Before you dive right into selecting a color, consider the entire room you’re painting and all the items in it.
“Sometimes people start with paint first; this is the easiest mistake to make. Think about your furniture — the fabrics, colors, textures and what you want to bring out in them — and then pick out your paint color. Let your paint be your biggest and best supporting actor,” the Corsinis said.
Once you have a color palette in mind, it’s time to start collecting paper paint samples to get a feel for each color option. After you select a range of potential colors, bring those paper samples home and tape them up on the walls you’ll be painting so you can get a feel for each.
“The key here is to live with the colors for a few days under different light conditions. You can’t put the samples on the wall, stare at them for a few minutes and expect to make a well-informed decision,” DiClerico said.
If you find several color contenders after a few days, that means it’s time to test an actual paint sample on the wall (as opposed to a paper one).
“We recommend purchasing three or four colors that you like and then painting a 1-foot-by-1-foot square in each color on the main wall you plan on painting. Over the next several days, watch the colors at different times of day, comparing natural sunlight vs. artificial (fluorescent and incandescent) lighting at night,” said Nancy Brasse, assistant store manager at Lowe's in Mooresville, North Carolina.
If that's still not enough to help you make a decision, you can always try your hand at one of the interactive tools that many paint brands now offer.
"They typically let you upload an image of the room and see how it will look in various colors. These digital tools are a great way to narrow down selection," DiClerico said.

5. Make sure to pick the right paint finish/type for your room.
Selecting a color is only half of the DIY paint battle! Once you know your color scheme, deciding on a paint type comes next.
"Higher-quality paints will help your paint job stand the test of time. Equally important, however, is considering how much traffic a room sees and how much it’s exposed to moisture," Villar said.
Not sure how to select the right paint type for your space? Consult this quick cheat sheet of some of the most popular types of paint:
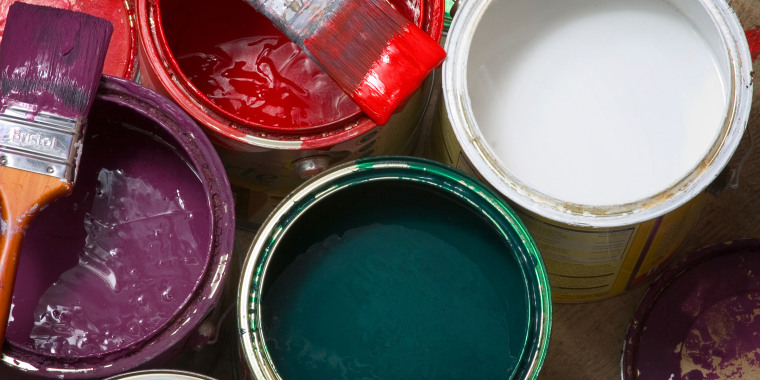
- Flat paint: The best for hiding imperfections due to its non-reflective finish. It's also harder to keep clean, though! Flat paint works well for ceilings, living rooms, bedrooms and any room that has little wear and tear.
- Satin paint: Best in moderate-to-high traffic areas and on trim. This paint has a pearl-like finish and is great for rooms that are regularly exposed to moisture, like kitchens and bathrooms.
- Eggshell: With its soft, velvety appearance, this paint type is perfect for rooms with moderate traffic, like living rooms, hallways, dining areas, etc. It can highlight surface imperfections, though, so make sure to prep the wall well!
- Semi-gloss: This sleek, lustrous paint is easy to clean and generally resists stains well. It's ideal for cabinets, trim, windows and doors. It's also pretty great in bathrooms and kitchens since it provides high resistance to stains and repels moisture.
- High-gloss: The shiny, glass-like finish of high-gloss paint works well on frequently used surfaces like cabinets and furniture.

6. Painting edges is tricky, but it's not impossible.
Unless you're painting an entire room white, you'll have to paint the edges between the walls and the ceiling at some point. And even the most skill painters agree: Painting edges is no piece of cake!
"Pros call this process 'cutting in.' It’s when you paint a small strip of paint around any borders of a wall, including where the wall meets the ceiling," DiClerico said.
Getting a precise line isn't easy, but just because you're a DIY painter doesn't mean you have to have a zigzag mess all around the edges of your ceiling. It all comes down to using the right painting technique!
"Use an angled brush to cut in the edges, with just enough paint to saturate the bristles without running or dripping, and reload your brush only after the second or third stroke," Villar said. "Once you’re happy with the cut-in lines, feather the edge to create a smooth transition and roll over the edge of the cut in, as close to the edges as possible."
And if you mess up, you can always wipe up any accidents immediately with a damp cotton rag!
Here's where painter's tape and other tools can also come in handy. "For DIYers, we recommend a special tool called a paint edger. It has a woven pad that gets loaded with paint and guide wheels that roll along the edge. It’s a fast and simple way to cut in the edges around a room with professional results," DiClerico said.
Whatever method you choose to paint those tricky edges, just remember: It takes patience!
This story was originally published Oct. 15, 2018.
